Cloudflare Tunnel 实现内网穿透

本文最后更新于:2024年8月9日 晚上

Prepare work

  • Cloudflare Account
  • A Domain name which register under Cloudflare

Setup steps

Cloudflare Dashboard –> Zero Trust –> Networks –>Tunnels-> Create new Tunnels –> Connector(Cloudflared)
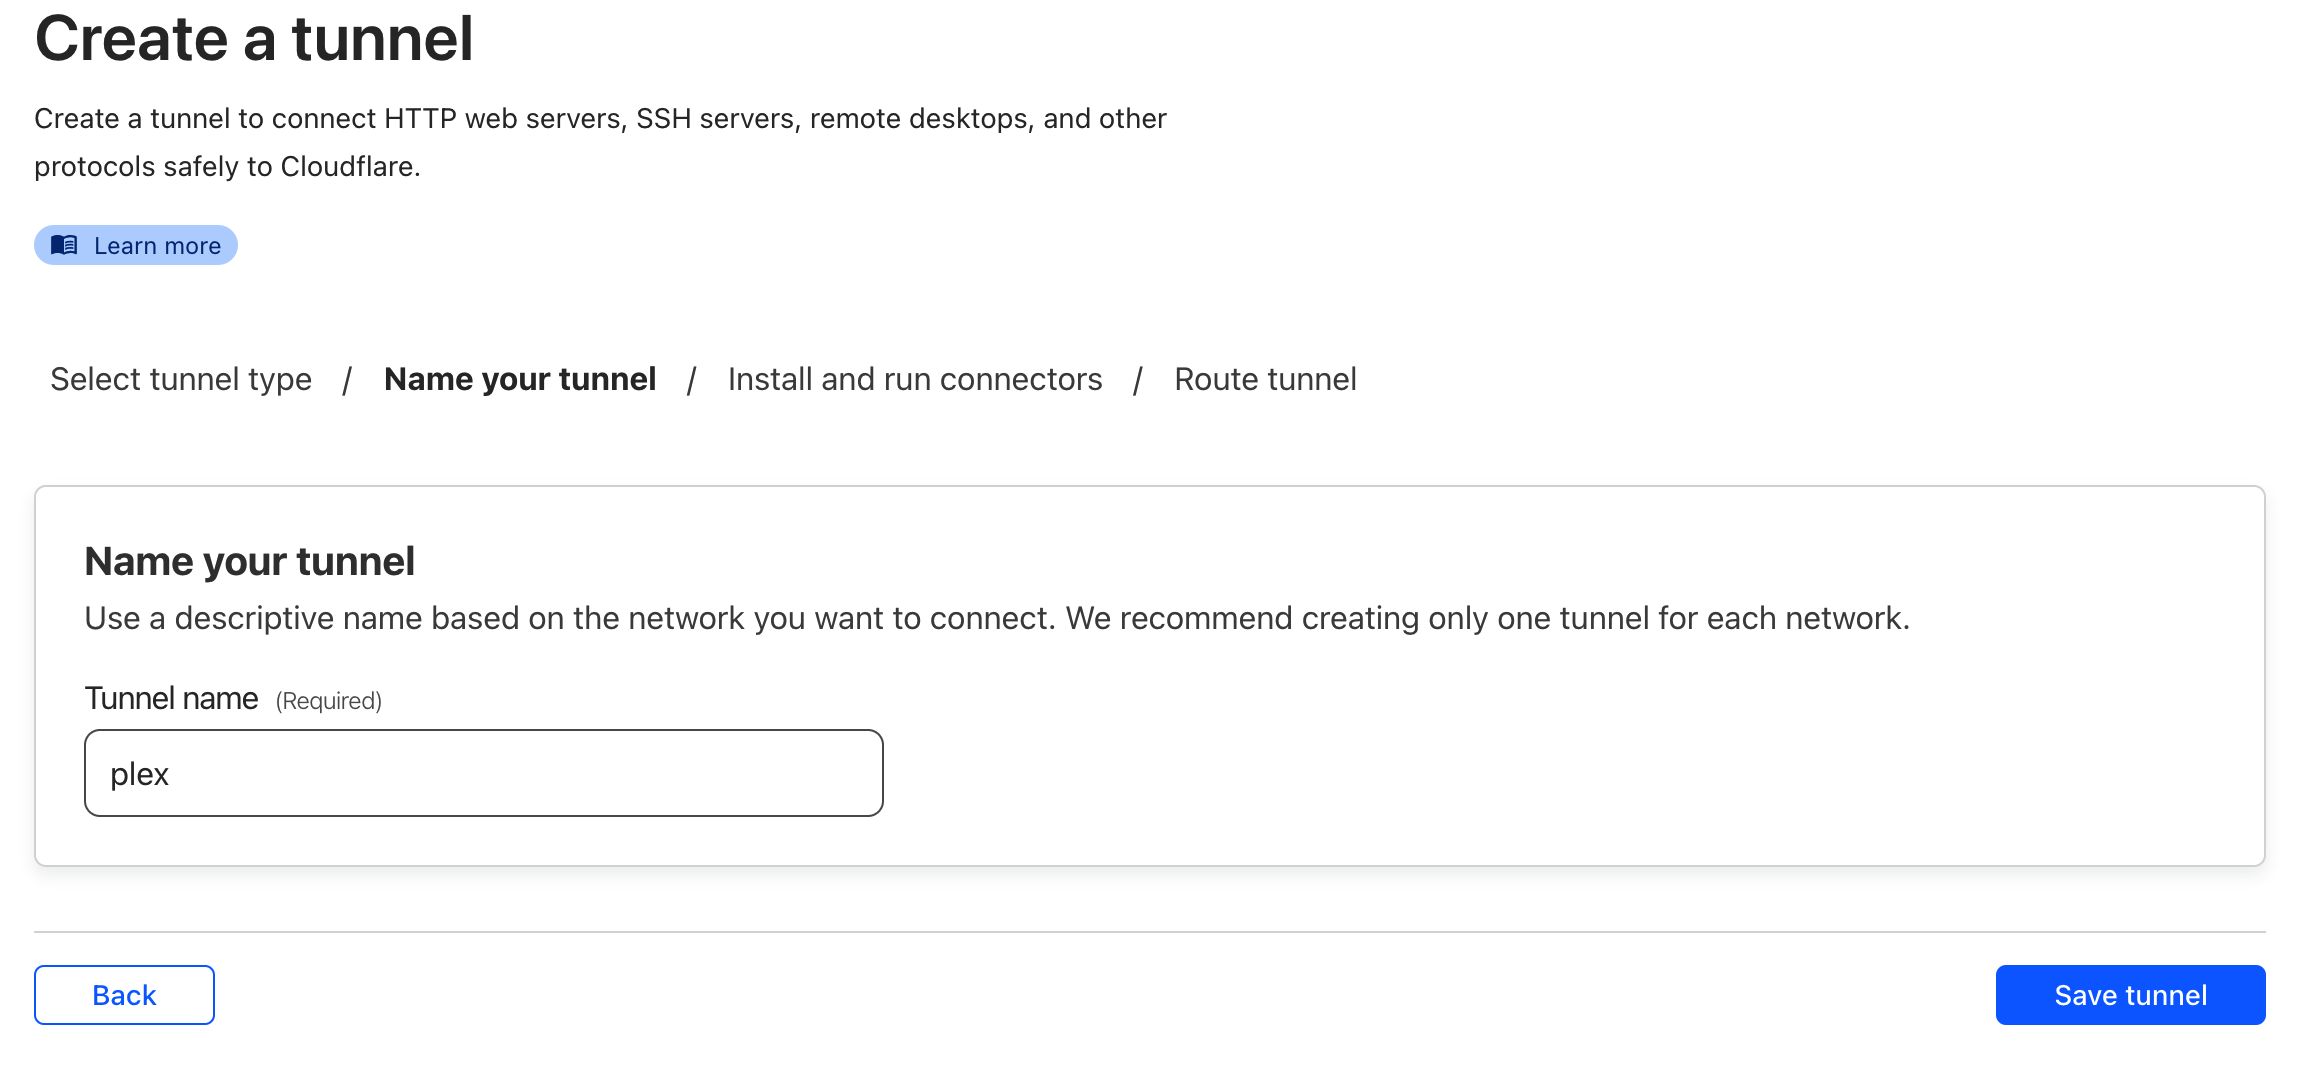
image-20240509164856584

Tips

If you have multiple applications on one server, recommend use docker to create multiple connectors for each Application. Here are using Docker for example .

image-20240509165511577

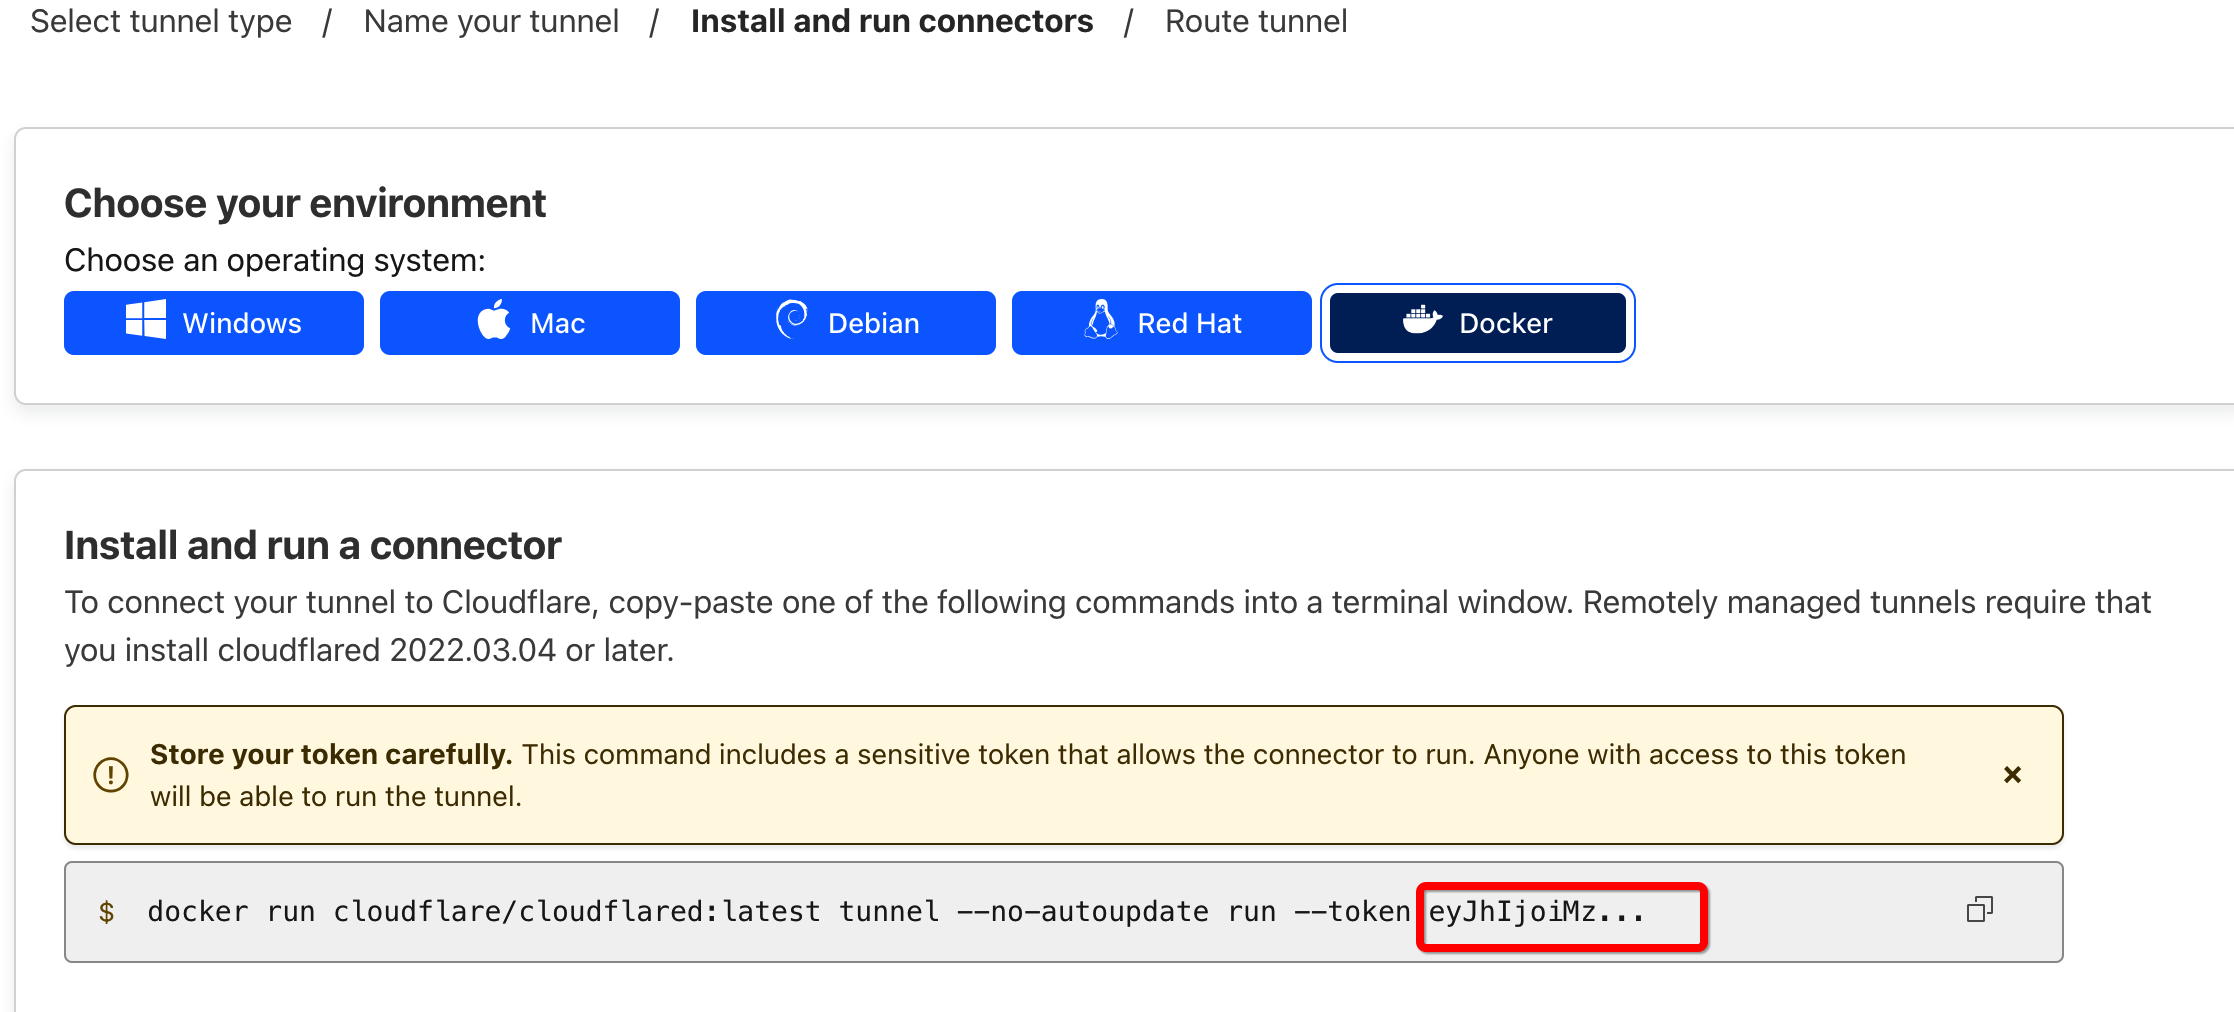
Copy the application token and save it to docker-compose.yml:

1
2
3
4
5
6
7
8
9
10
11
12
13
14
15
16
17
18
19
# service description
services:
cloudflare-tunnel:
image: cloudflare/cloudflared
container_name: cloudflare-tunnel-plex
hostname: cloudflare-tunnel
restart: unless-stopped
network_mode: "host"
command: tunnel run
dns:
- '192.168.3.1'
volumes:
- /etc/localtime:/etc/localtime:ro
- /etc/hosts:/etc/hosts
environment:
- "TUNNEL_TOKEN=${TOKEN}" # Your Token Here
labels:
# enbale watchtower updates
- "com.centurylinklabs.watchtower.enable=true"
1
2
3
[root@home ~/cloudflared-proxy/plex]# docker-compose up -d
[+] Running 1/1
✔ Container cloudflare-tunnel-plex Started

image-20240509170300189

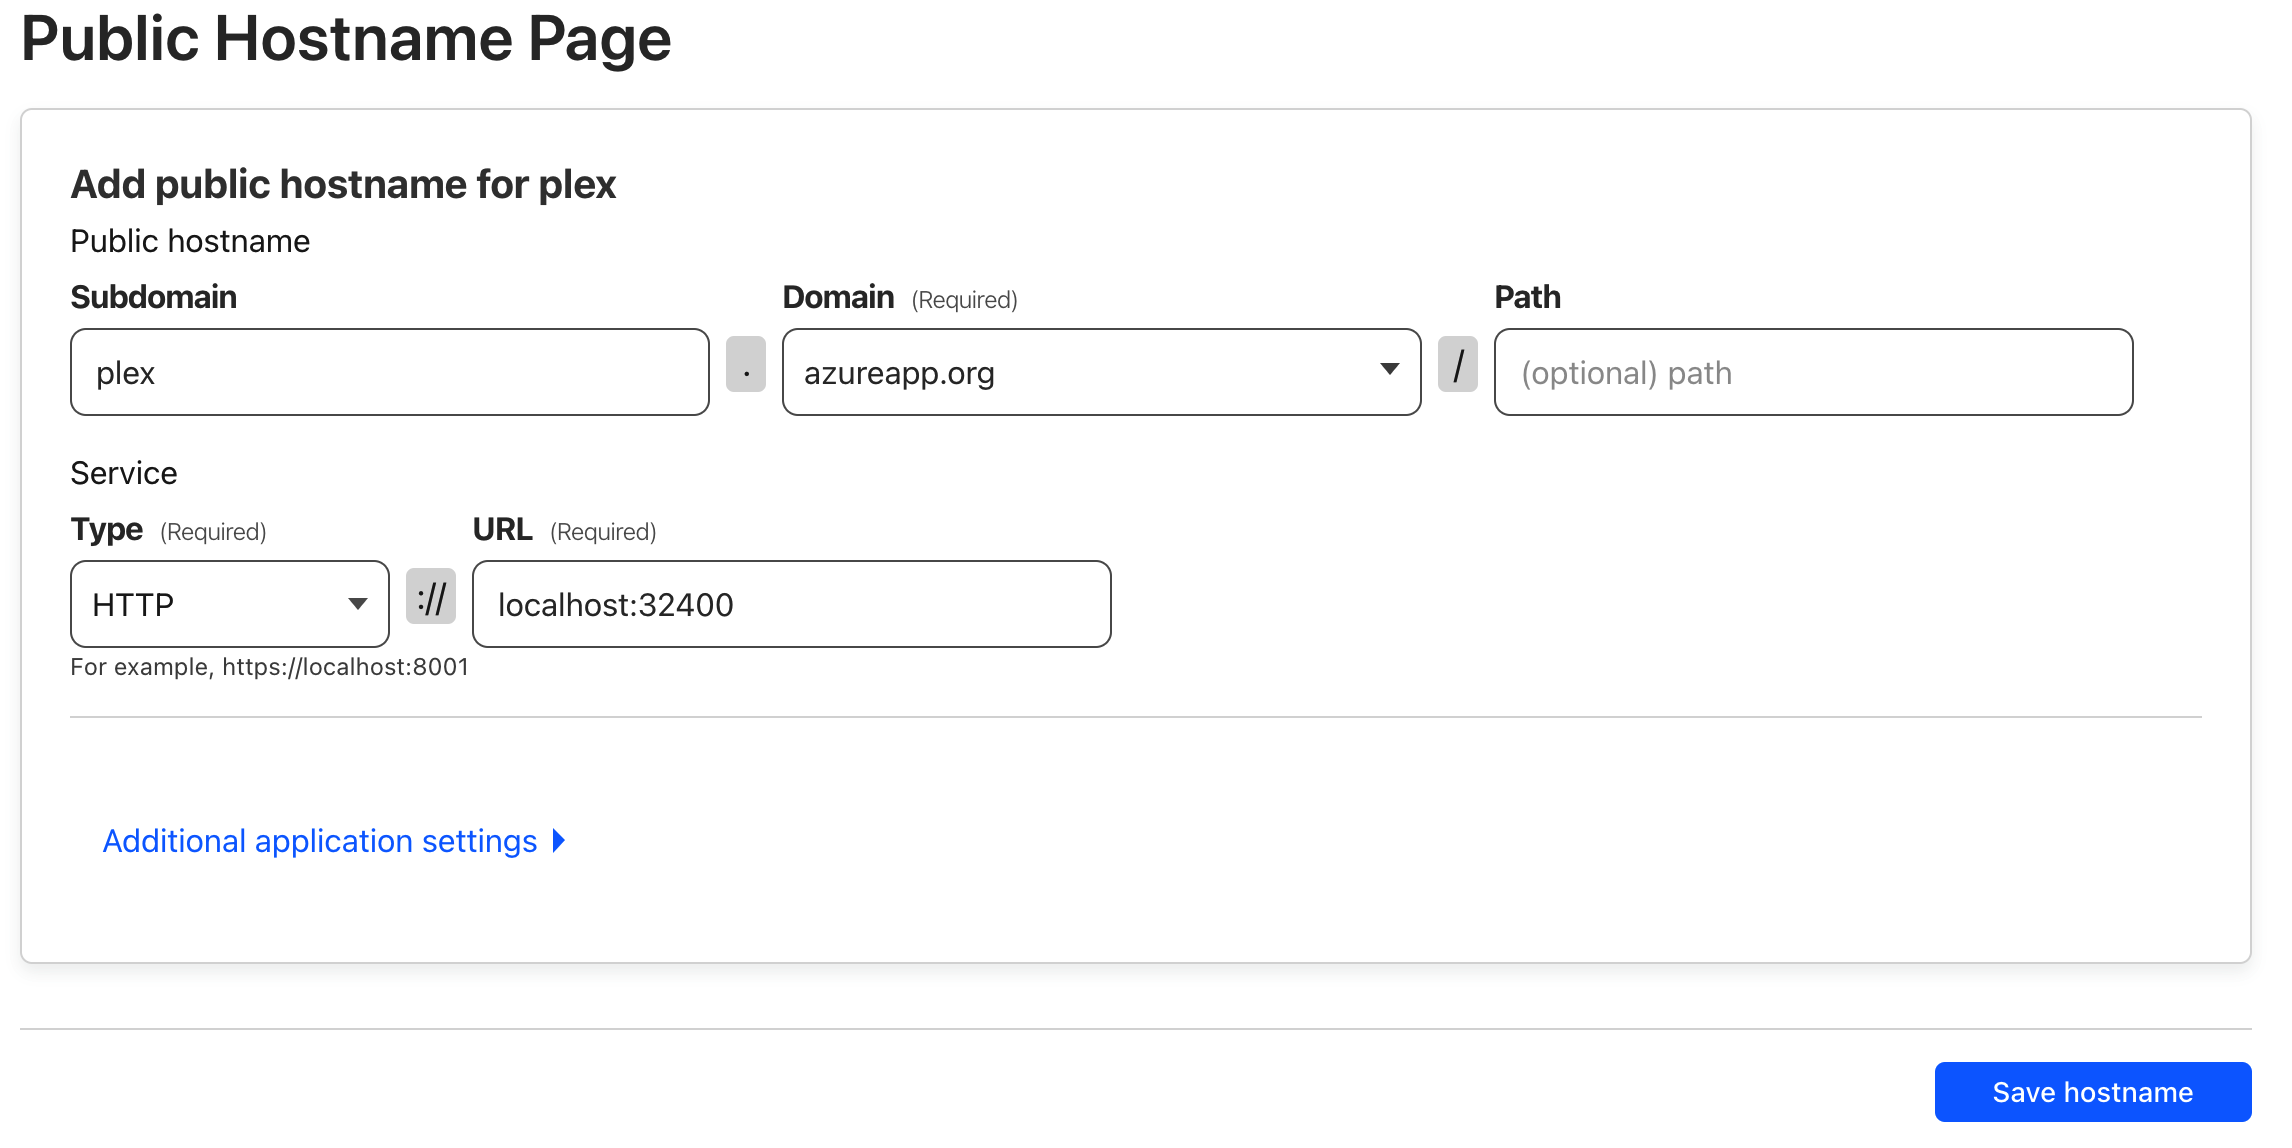
Connectors that is becomes healthy. That means we successfully connected. Then we go to the next step to set proxy.

image-20240509170848133

1
2
3
4
5
6
7
8
9
[root@home ~/cloudflared-proxy/plex]# nslookup plex.azureapp.org
Server: 192.168.3.1
Address: 192.168.3.1#53

Non-authoritative answer:
Name: plex.azureapp.org
Address: 172.67.136.8
Name: plex.azureapp.org
Address: 104.21.54.63

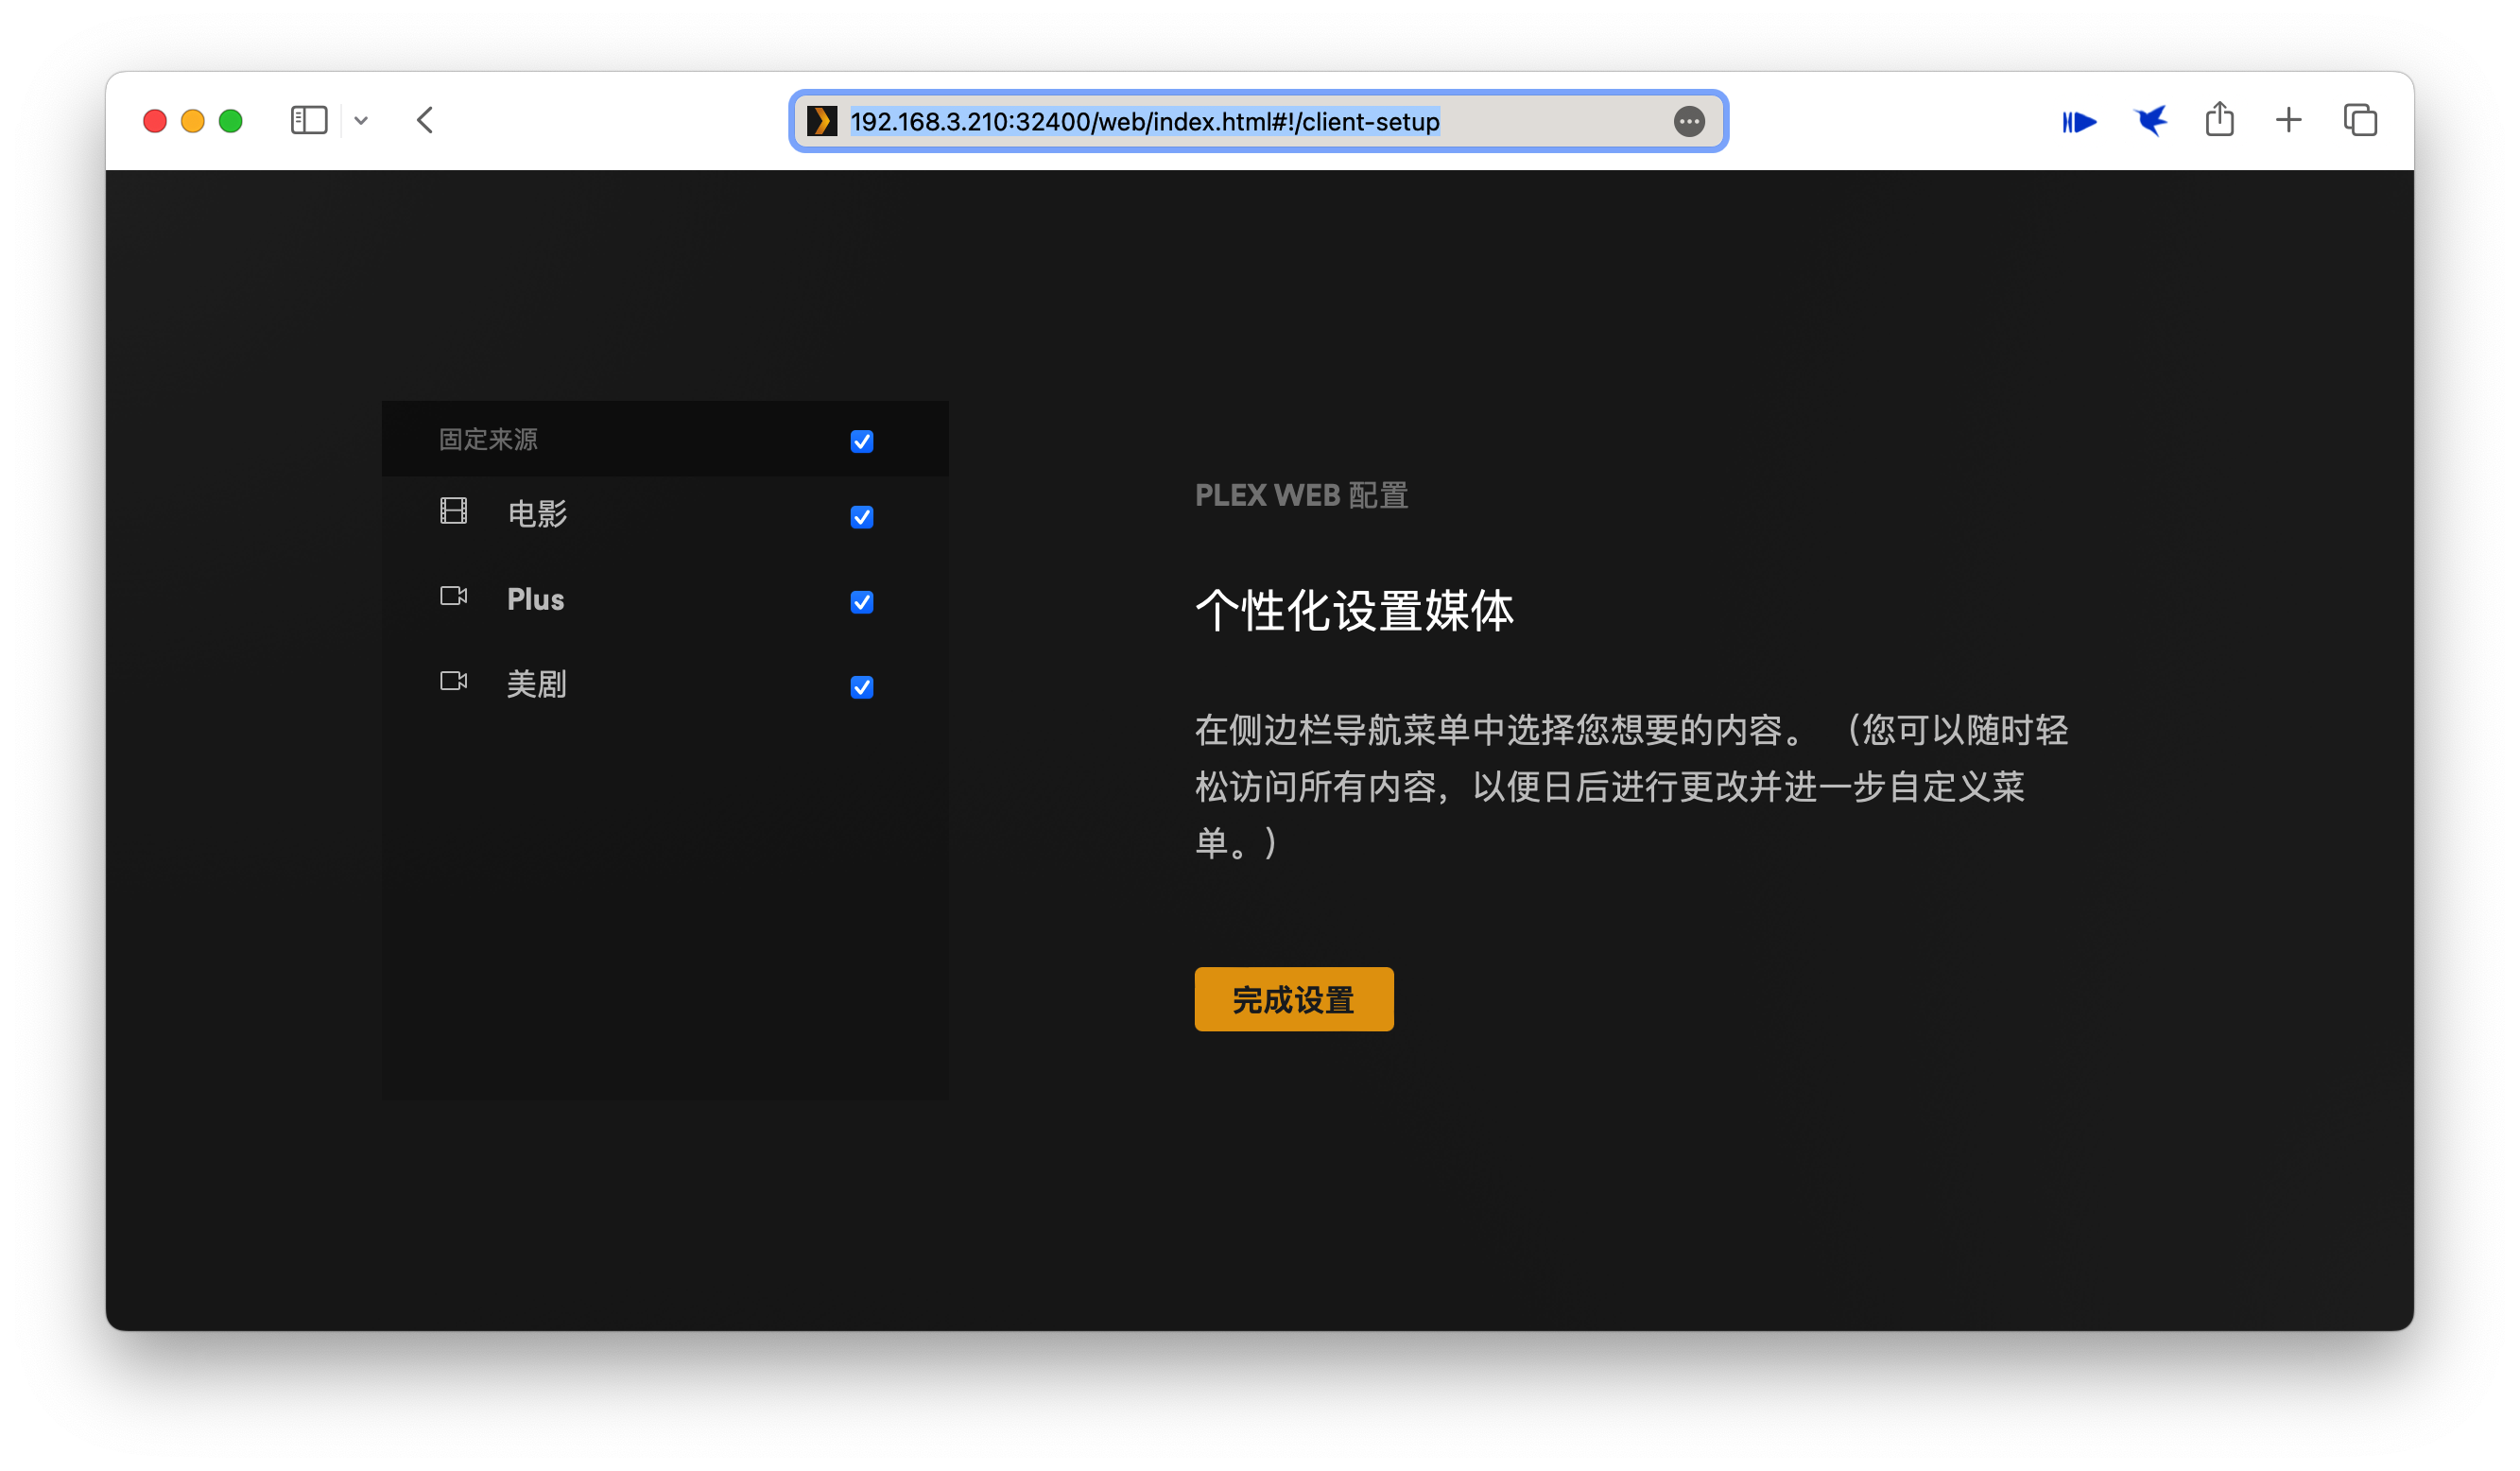
Now we can access http://localhost:32400 the plex from lan network and access https://plex.azureapp.org from public network.

image-20240509171519755


Cloudflare Tunnel 实现内网穿透
https://git.msft.vip/2024/05/09-Cloudflare-Tunnel-实现内网穿透/
作者
Jas0n0ss
发布于
2024年5月9日
更新于
2024年8月9日
许可协议